|
DIY Wedding Decorations: Easy-To-Sew Banner
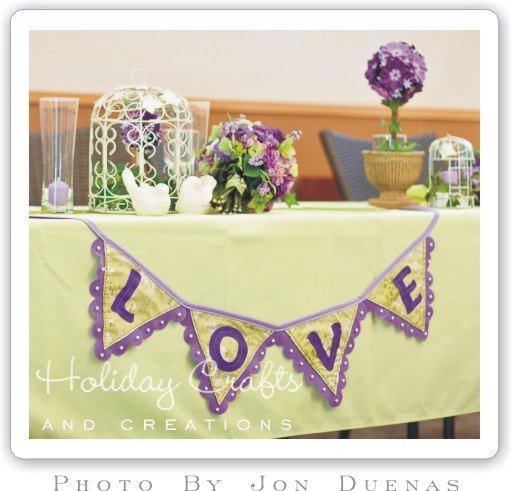
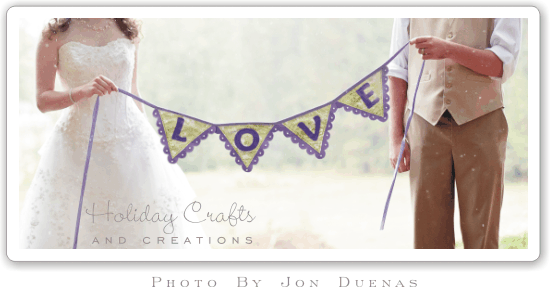
Get inspired and save money too, with our fun DIY wedding decorations! This DIY project will show you how to sew a pennant/bunting style banner for your wedding, with any message you would like. And this banner would definitely be a cute addition to your wedding and it's pretty inexpensive to make too! So if you are on a tight budget and need to find some cheap wedding decorations, why not try this easy-to-sew banner. It's a great budget-friendly decoration that is sure to impress your guests!


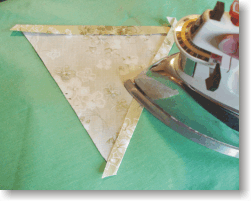
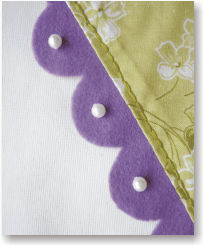
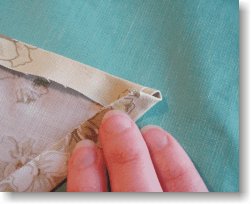
Lay one of your fabric triangles face down, and fold back one of the sides (just not the top side) about ½", and then iron in the crease. Then do this with the other side as well. At this point the tip of the triangle will be folded over to one side. To correct this, open both sides back up and fold the tip of the triangle up, and iron this in place. Then fold each side back in as the photos show. 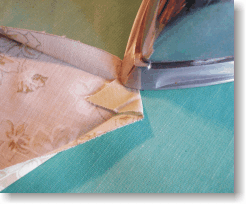
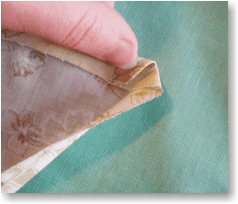

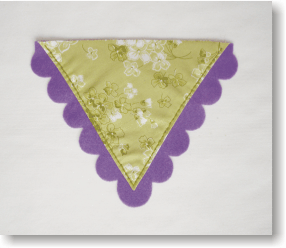
After you have completed step 1 for each of the triangle pieces you will be making, place the fabric triangles on top of the felt scalloped triangles. Line up the tops of the fabric and felt pieces, and then sew the fabric in place using the backstitch in embroidery floss to match the color of the fabric. You only need to sew down the two sides, not across the top. If you would prefer, this step could also be done on the sewing machine.
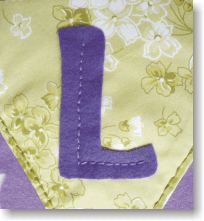
Now it is time to cut out all your letters in your choice of felt. Then place your letters in the center of each triangle. To anchor them in place, we simply did the backstitch down the center of each letter. Of course if you prefer a different technique, most anything will do the job.
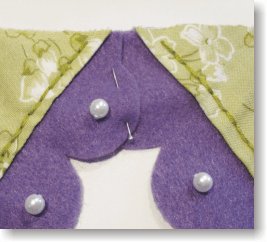
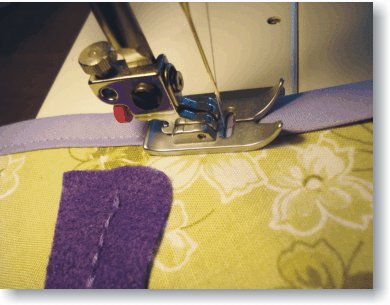
Now it's time to sew your pieces all together! To start off, it is best to pin all your pieces together so they stay in place while you are working with them. Once you have them all pinned together the way you want them, you can place the bias tape over the top edge. To be sure that the fold in the bias tape stays around the edge of the triangles while you are sewing, it is best to pin this in place too so it doesn't shift. Then, using your sewing machine, sew along the bias tape, making sure you stay fairly close to the bottom edge.
Your banner is now complete and ready to use! And if you want, try adding on some flowers, or other accents to your banner for added flair!
Return to Wedding Crafts from DIY Wedding Decorations: Easy-To-Sew Banner
|


