|
How To Transfer Designs Onto FeltWhat Works and What Does Not
Need to know how to transfer designs onto felt? Well, since felt is opaque, it can be a little hard to transfer designs onto it because you can't use the traditional methods of tracing on the window or using a light box. So to help you learn how to transfer designs onto felt, we created this guide. This guide will explain 3 easy transfer methods that will work well on felt and a couple of common transfer methods that don't work at all on felt. Some of these methods will need specific sewing notions made just for that method, while others use common household items that you probably already own. So we hope you will find this sewing tutorial helpful and that you can find a method that works for you!
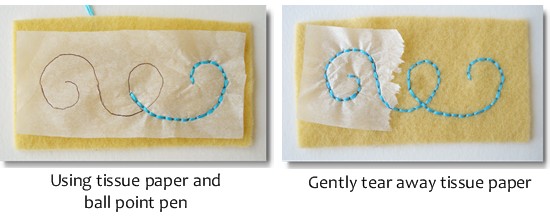
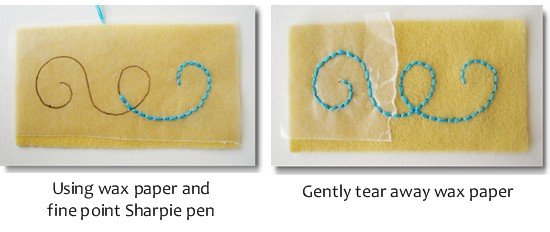
3 Methods That Work On Felt1. Stitching Through PaperThis method can be done with a variety of paper types. The paper needs to be transparent and easily torn such as tissue paper or wax paper. Tear-away stabilizer is also an option, and it would work very much like the wax paper and tissue shown below. Using this method does not require a reverse/mirror image of your pattern. And when you are done, there will be no transfer ink marks on the felt. How To Do This Method: Place your chosen paper over your pattern. If it is wax paper or tissue, you can usually see right through it. If it is something more opaque, you will need a light box or window. Then trace your pattern onto the paper with an appropriate pen (see photos below for suggestions). Once your pattern has been traced onto your paper of choice, place your paper onto your felt and pin or baste it down to keep it in place. Then simply begin to stitch along your lines through the paper and felt. When you are finished, gently tear the paper away from your stitches. You may need to use tweezers to get some of it out. Tissue Paper:
Wax Paper:
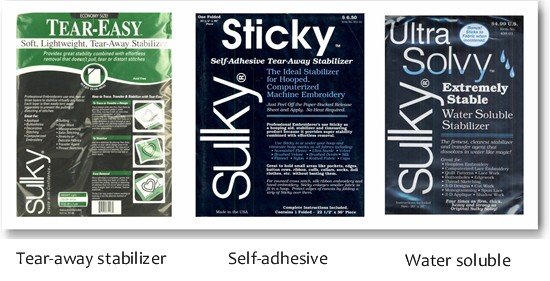
Tear-Away Stabilizer:While we did not show an example of the Tear-away stabilizer, it works much the same way as the tissue and the wax paper shown above. The only difference is that it is more expensive and seems to be a little harder to tear away. But some stabilizers come with options that tissue and wax paper cannot offer like the following stabilizer products:
So if you like the self-adhesive paper or water soluble paper features, then these stabilizers might be worth the extra cost.
2. Iron-On Transfer Pen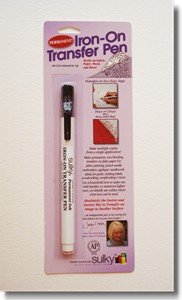
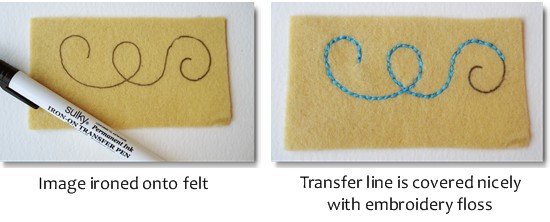
How To Do This Method: While the pen will come with instructions, the basic idea is that you print out your pattern (the mirror image) on regular printer paper, trace over the image right on the ink on the paper, flip this down on your felt, and iron it on. The image is then clearly on your felt for you to stitch over. Below we show you how this method looks.
3. Iron-On Transfer Paper For Inkjet Printers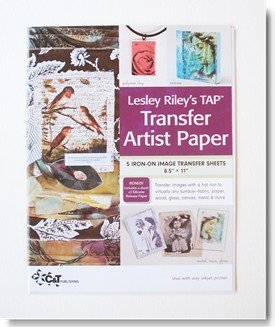
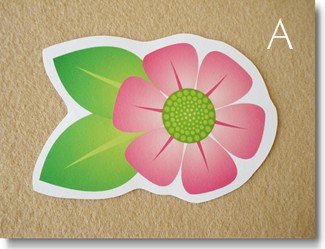
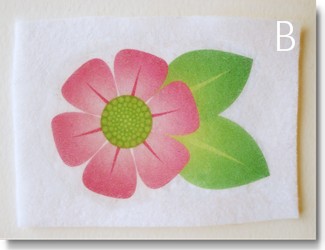
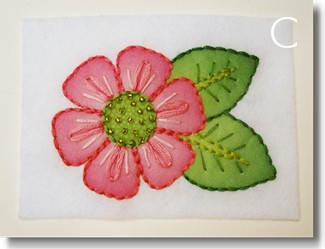
How To Do This Method: The transfer paper you buy will come with instructions, but the way it works is that you print out your image (the mirror image) on your inkjet printer, onto this special paper. Then cut out your image leaving at least a ¼" to 3/8" border (photo A).
What Does Not Work On Felt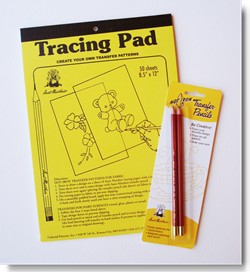
Iron-On Transfer PencilThis method did not work so great on felt. Transfer pencils work best on cotton fabric. When we attempted to use it on felt, we got no visible line transferred onto the felt no matter how hard we pressed or how dark of a line we drew. So we do not recommend this for felt projects.

Carbon PaperEmbroidery or dressmaker's tracing paper is a type of carbon paper and it too, does not work on felt from our experience. This method of transferring also works best on cotton fabric. So again, we don't recommend this for felt projects.
For more helpful hints on how to embroidery stitch or how to sew by hand, click the link below. Return to Helpful Hints from How To Transfer Designs Onto Felt
kimberly Says: indira Says: lentina Says: grace Says:
|


